Pages

Thursday, June 30, 2011

Cinnamon Bun Bread, Gluten Free


Since the Snickerdoodle Bread went over well at work and because I have a bunch of gluten-free flour left, I thought I'd whip up a batch of this bread. The muffins I made from the original recipe were delicious!

Cinnamon Bun Bread, Gluten Free
adapted from Cooking Club of America

FILLING
1/4 c sugar
1/3 c chopped toasted walnuts*
1 1/2 tsp ground cinnamon

BREAD
1 3/4 c Bob's Red Mill gluten-free all-purpose flour
1 1/3 tsp Bob's Red Mill xanthan gum
1 1/2 tsp baking powder
1/4 tsp baking soda
1/4 tsp salt
1 c sugar
1/4 c unsalted butter, softened
1 egg
1 1/4 tsp vanilla extract
3/4 c whole milk

ICING
1 c powdered sugar
1/4 tsp vanilla extract
1 to 2 tbsp whole milk
3 tbsp chopped toasted walnuts*

Heat oven to 350°F. Grease 8.5x4.5-inch loaf pan with butter.


Combine all filling ingredients in small bowl.


Whisk flour, baking powder, baking soda and salt in medium bowl.


Beat 1 cup sugar and butter in large bowl at medium speed 3 minutes or until light and fluffy.

Beat in egg and 1 1/4 teaspoons vanilla until smooth and well-blended.


At low speed, beat in flour mixture in 3 parts alternately with 3/4 cup milk, beginning and ending with flour mixture.


Spread one-third of the batter in pan; sprinkle with half of the filling.


Top with half of the remaining batter, spreading gently. Sprinkle with remaining filling.

Spread with remaining batter.


Bake 50 to 55 minutes or until golden brown and skewer inserted in center comes out clean. Cool in pan on wire rack 10 minutes. Remove from pan; cool completely.


Whisk powdered sugar, 1/4 teaspoon vanilla and 1 tablespoon of the milk in small bowl, adding additional milk for desired consistency.


Drizzle over top of bread, allowing to drip down sides.


Sprinkle with remaining 3 tablespoons walnuts; press into icing. Let stand until set. (Bread can be made 3 days ahead. Cover and store at room temperature.)


Because I'd made a gluten-free quick bread once before, I knew to expect the batter to become pasty. What I didn't expect was how pasty it would be. When doing the flour/milk additions, the batter became so glue-like that it creeped up the beaters toward the mixer itself. I was forced to eject the beaters and finish mixing the batter by hand lest the entire mixer be covered in batter.

As you can imagine, spreading the batter, particularly after the filling was added, required a bit of patience. The filling stuck to the batter when spreading and it was like pages in a old book: easily opened. I realized that spreading the batter along the glass dish and then smearing it across the middle worked better than simply spreading it across the middle of the dish.

Unlike the last time I did a gluten-free quick bread, I used butter to grease the dish and it worked out so much better than greasing with oil. The bottom of the bread didn't burn at all; the color was a nice brown all over.

Cost:
  • gluten-free flour: $1.36
  • xanthan gum: $0.21
  • sugar: $0.54
  • butter: $0.29
  • egg: $0.25
  • milk: $0.60
Total: $3.25 + $1 SWAG for the nuts and stuff: $4.25.

Click for the printable


Tuesday, June 28, 2011

C&H Organic Pure Cane Sugar


I was at Costco and when browsing the baking aisle, remembered that I was low on sugar. So I bought 10 pounds of certified organic sugar.

And look at the ingredient statement! It's organic sugar! At 15 calories a teaspoon and no fat, you're much better off chowing on spoonfuls of sugar than you are cinnamon chips.


Available in a 10 lb resealable package from Costco for $8.29.
That makes each of 1,134 teaspoons about $0.007 each. Not even a penny a teaspoon!
Or each of 23.6 cups about $0.36 each. Still not bad, eh?

You might be wondering what the heck I'm going to do with 10 pounds of sugar. C'mon, the bag is resealable! What's the shelflife of sugar? We'll find out.


Monday, June 27, 2011

Spicy Southwestern Corn


Finding a good side, one that is going to be tasty but not time consuming is always a pain for me. I'm not sure why. This recipe was one of the latest in the last Cooking Club magazine. I thought it would go well with the Tequila-Lime Chicken so gave it a go.

One thing I changed was to omit the tablespoon of lime juice at the end of the recipe. I didn't want my meal to be too limey as I was already anticipating the chicken would be.

Spicy Southwestern Corn
adapted from Cooking Club of America

2 tbsp olive oil
1 medium onion, chopped
1 poblano chile, chopped (about 1 c)
1 1/2 c corn kernels (2 to 3 ears)
1 small zucchini, chopped (about 1 c)
2 tsp chili powder
1/2 tsp salt
1/4 tsp pepper

Heat oil in large skillet over medium-high heat until hot.


Cook and stir onion and chile 2 minutes.


Add corn and zucchini; cook and stir 2 to 3 minutes or until crisp-tender. Stir in chili powder, salt and pepper.


This stuff kicks ass in the delicious department and went exceptionally well with Tequila-Lime Chicken. I think this would serve well as a side to nearly anything and also as a topping on tacos or a filling in quesadillas! And what's killer is that outside of prep, it takes 10 minutes to cook up!

Cost:
  • onion: $0.28
  • poblano chile: $0.34
  • corn-on-the-cob: $1.47
  • zucchini: $0.58
Total: $2.67 or $0.67 for each of four servings.

Click for the printable


Tequila-Lime Chicken


The latest edition of Cooking Club magazine showed up last week and I picked a couple recipes to try. This recipe was selected for it's simplicity and quick prep. The original recipe calls for grilling but since I'm grill-less, I opted for broiling.

Tequila-Lime Chicken
adapted from Cooking Club of America

1/4 c fresh lime juice
1/4 c tequila
4 tbsp coarsely chopped cilantro
3 tbsp olive oil
1/2 tsp salt
1/2 tsp pepper
4 boneless skinless chicken breast halves

Combine lime juice and tequila.


Place chicken in a baking dish; salt and pepper the breasts. Drizzle the oil over the chicken. Pour juice and tequila over chicken and sprinkle with cilantro.


Marinate at room temperature 30 minutes or refrigerate up to 8 hours, turning chicken occasionally.


Place broiler rack on lowest setting in broiler. Heat broiler. Transfer chicken to broiler rack, service side up; reserve marinade.


Broil chicken 8 minutes, brush with marinade, and broil an additional 4 minutes.


Flip chicken and repeat. Discard remaining marinade.


Transfer chicken to a platter, cover and let stand a few minutes before serving.


The marinade smelled like a wild margarita party and the chicken slowly looked like ceviche as it marinated, but the concoction worked. The breasts weren't dried out and the flavors were good. I was concerned that the lime would be like a kick to the head with intensity, but it worked well. I like that the recipe would be easily scaled up or down.

Cost:
  • limes for juice: $0.23
  • tequila: $2.08
  • cilantro: $0.33
  • chicken breasts: $2
Total: $4.64 or $1.16 for each of four servings.

Click for the printable


Sunday, June 26, 2011

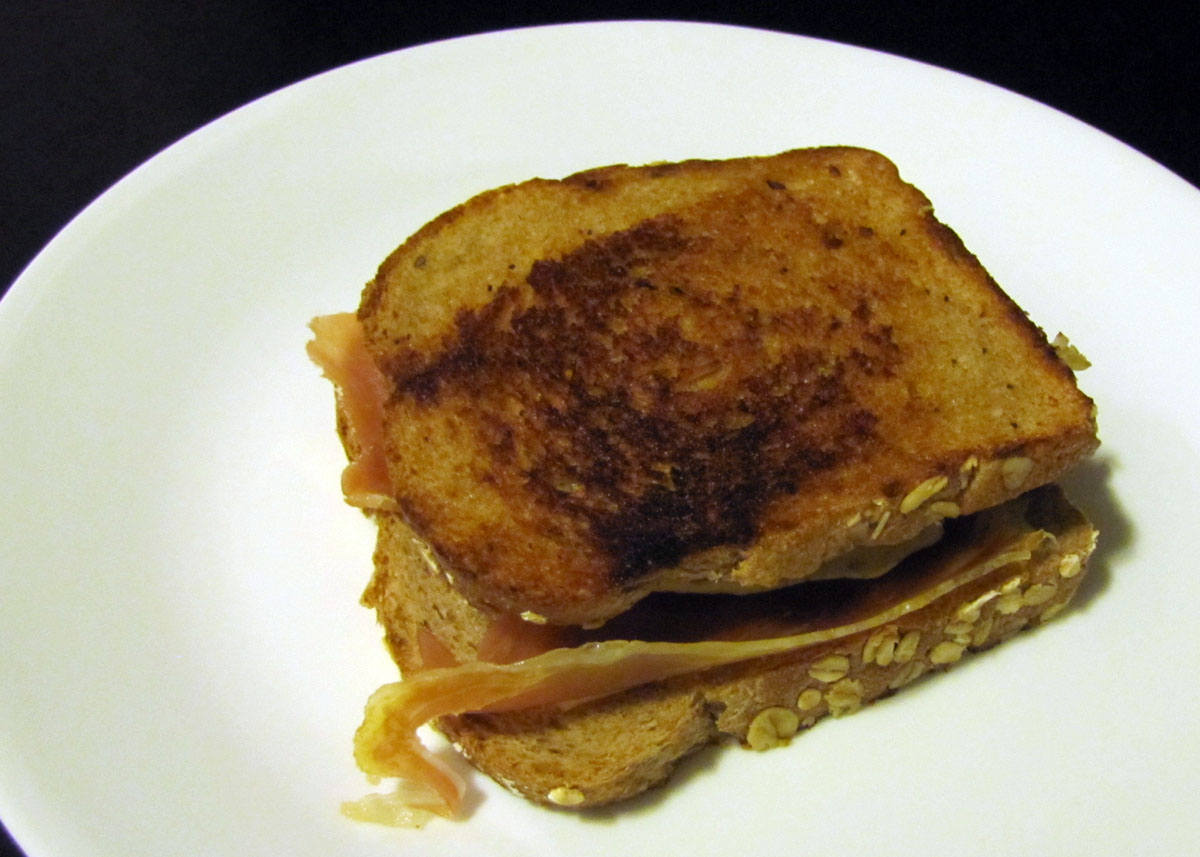
Grilled Serrano Jamon, Egg, and Swiss Sandwich


Prepared just like it was last night, but the egg a little more creamy-runny. Exactly what I was going for originally. Now THIS is a sandwich.


Serrano Ham, Egg and Swiss Sandwich


Two slices of buttered bread were placed butter side down in a hot skillet and topped with baby Swiss. Then some Serrano jamon was placed over one of the bread slices.


Meanwhile, and egg was fried until I guessed it to be over-easy/medium. That egg was placed on the jamon.


The two breadslices were made into a sandwich and sliced.


The egg could've been a little more easy than medium, but still, a delicious sandwich.